Earlier this week, Mike and I drove 3 hours north to visit -- and place a deposit -- on a puppy. After battling Los Angeles traffic and navigating winding country roads, we made it to our planned stop in Solvang, California. We got out, stretched our legs… and promptly realized we’d left The Wallet at home.
In our early-morning excitement, neither of us remembered to ask the other if we’d packed the single wallet Mike carries with both of our driver’s licenses, insurance cards, cash, and bank/credit cards. With 100 miles’ worth of gas in the tank, 120 miles to drive back home, and no physical payment cards or ID, we were in a situation.
Mike got an idea: Can we use Apple Pay?
Moments later, we’d hashed out a plan. And 36 hours later, we’re back home to tell the successful tale.
Here’s what we did:
- Fuel: Using the Exxon Mobil Speedpass+ app (Chevron also offers one), I paid for fuel using Apple Pay from the passenger’s seat. Couldn’t be easier.
- Food: Whole Foods takes Apple Pay (so does Albertson’s). With our full tank of gas, we drove to the nearest Whole Foods and picked up lunch, caffeine, wine, snacks and dinner. I even worked from their cafe for a little while. The next morning, we went to Starbucks to stock up on caffeine and snacks and paid via Apple Pay.
- Hotel: Luckily, I’d prepaid for the hotel room. When we arrived, I presented photos of my driver’s license and passport to the hotel manager, explained the situation, and verbally provided details to authenticate my identity and authorize the hotel to charge my card on file for incidentals.
- Cash: While checking out at Whole Foods, I used the “cash back” feature to withdraw cash for dinner and miscellaneous expenses.
Top Tips:
- Take photos of your driver’s license, passport, prescriptions, license plates, VIN and other travel-relevant details. I use Dropbox and the Dropbox app to keep these synced across my devices. It’s saved me dozens of times, and will take you seconds to do right now.
- Preprogram Apple Pay, or keep your bank and credit card information in a secure digital app. I configured Apple Pay on the go, using card information I’d saved on 1Password. If I hadn’t had this information handy, I would have been out of luck. Either configure Apple Pay from the comfort of your home, or have relevant payment information in a secure place on a device you’re traveling with.
- Act cool at the checkout counter -- Apple Pay is about as easy as it gets. I was nervous checking out for the first time, and had no reason to be. Hold your phone up near the keypad, authenticate your phone with TouchID, and the transaction completes in seconds. It’s way faster than processing a chip card at the terminal or counting out cash.
- Download “locator” apps to see which locations near you accept Apple Pay. Locator and Pay Finders, both free, worked beautifully for this.
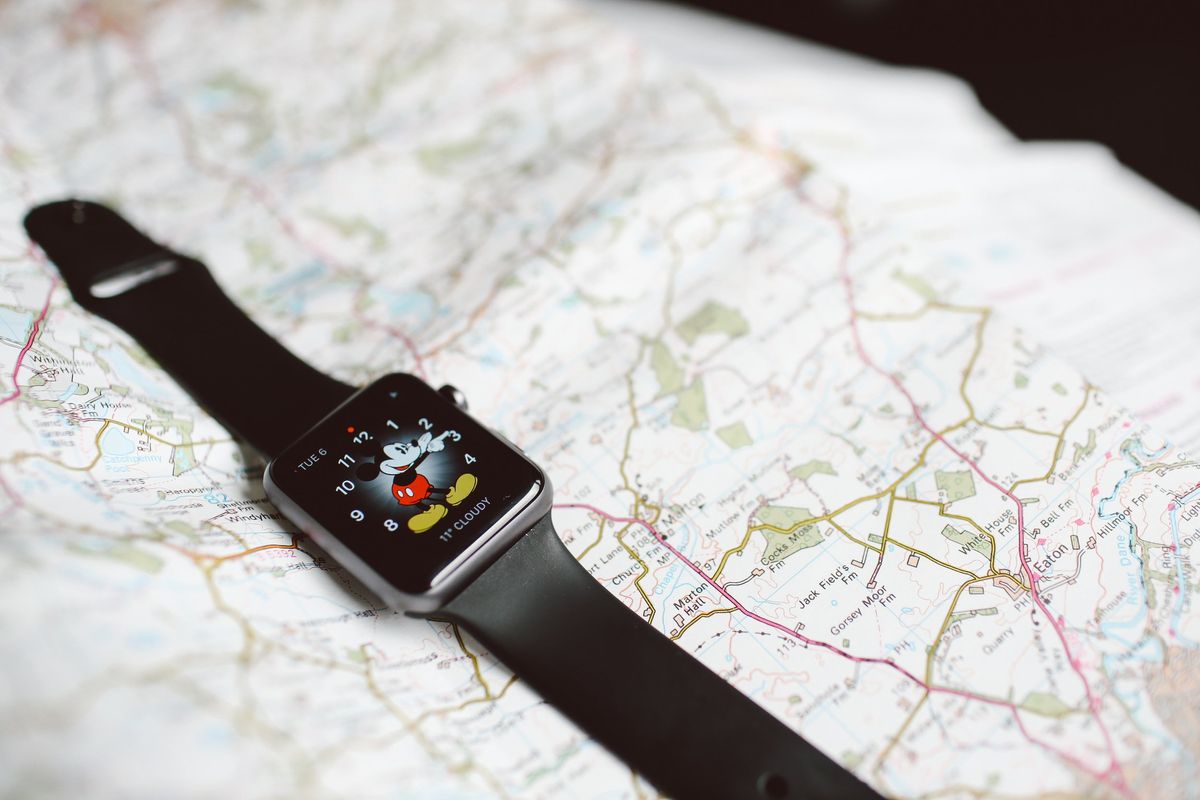
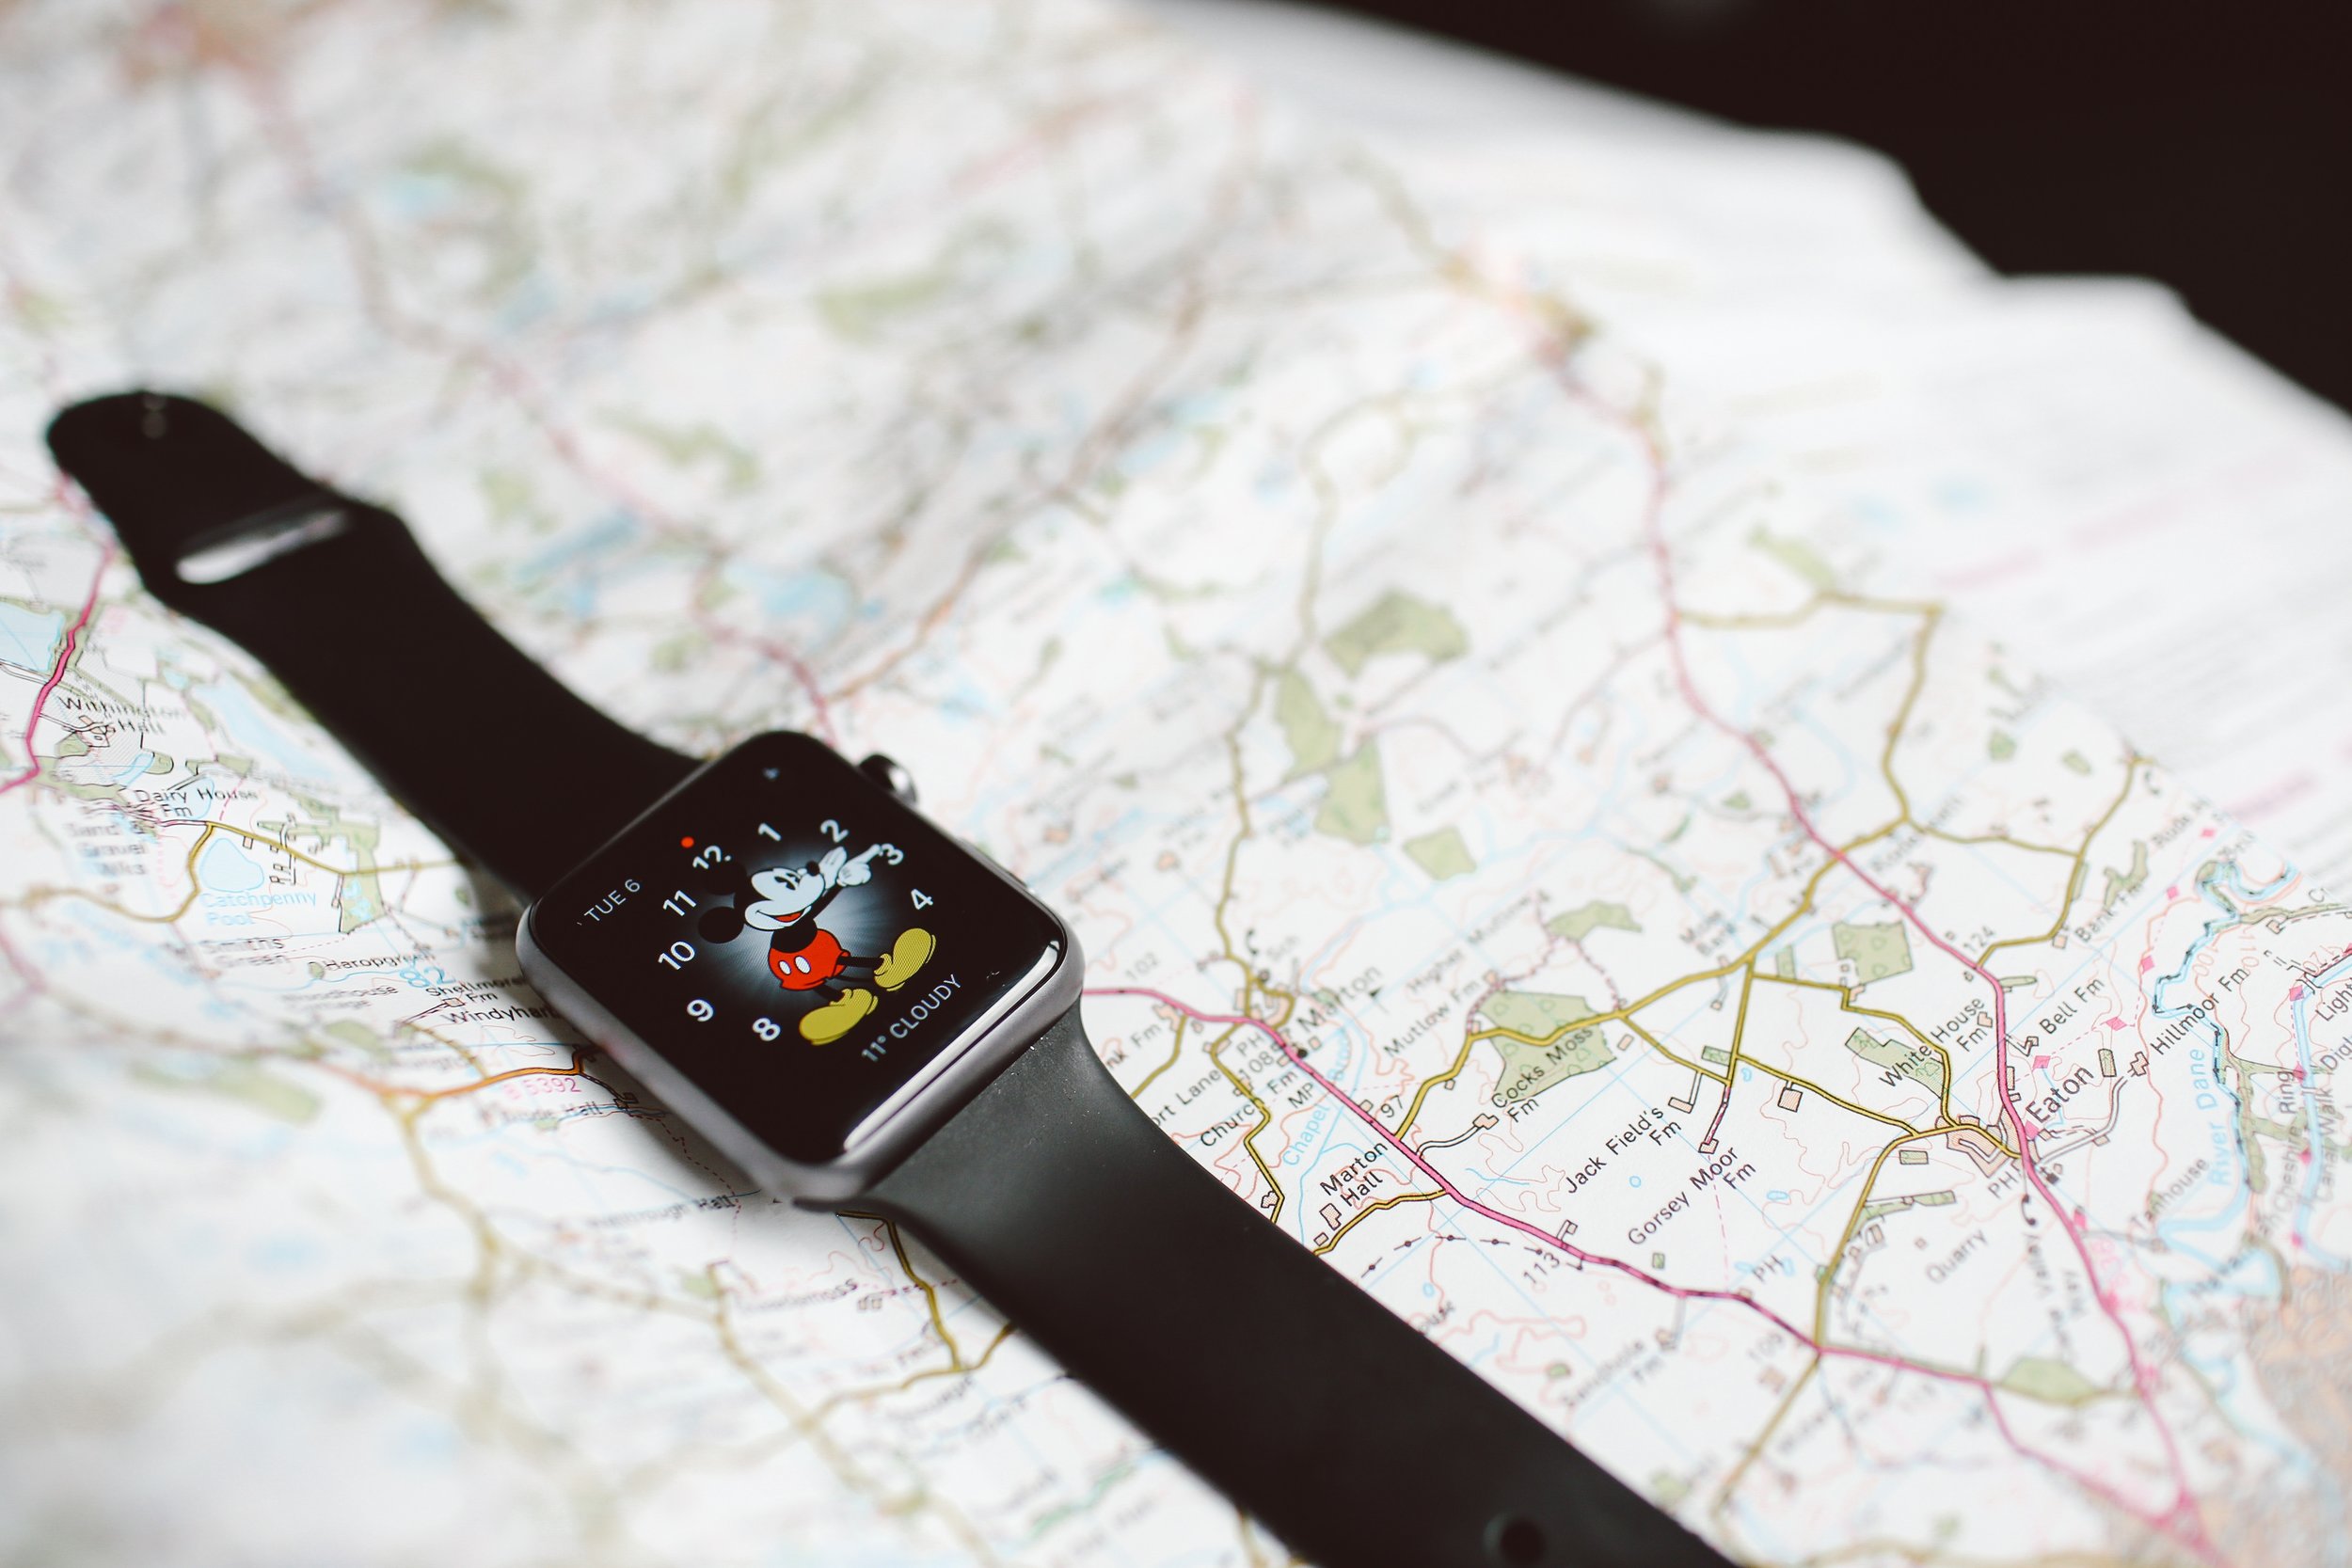
I’m so impressed with my Apple Pay adventure that I plan on using it as often as I can. Mike configured Apple Pay on his Apple Watch and phone from Starbucks on our second day, which enables him to make payments using his watch.
It won’t be long until physical wallets are a thing of the past -- and I can’t wait.